Главная страница Случайная страница
КАТЕГОРИИ:
АвтомобилиАстрономияБиологияГеографияДом и садДругие языкиДругоеИнформатикаИсторияКультураЛитератураЛогикаМатематикаМедицинаМеталлургияМеханикаОбразованиеОхрана трудаПедагогикаПолитикаПравоПсихологияРелигияРиторикаСоциологияСпортСтроительствоТехнологияТуризмФизикаФилософияФинансыХимияЧерчениеЭкологияЭкономикаЭлектроника
Back to 3DS Max
|
|


Next thing is to load the color and the displacement map on the model, as seen in the image. Notice that I'm using Vray as the render engine, so I will use a Vray Disp. modifier. But first I will add the displacement map that we created from ZBrush into an empty slot in the material editor and set the Tiling in V to -1 and the Blur area to 0.01. Then go back to the original slot and drag and drop it to the Vray Disp. modifier:
We have now to set the Amount value for the displace, in this case 6, and then remember to set the Shift to a value of Amount / -2, so in this case, -3.

Now create a new material for the PINUP and add the color map to the diffuse color slot.

The next step will be to create some interesting lighting scheme, in this case I used two area lights as shown in the image:
and create some materials for the rest of the objects...
And we are ready to make the the render!:)
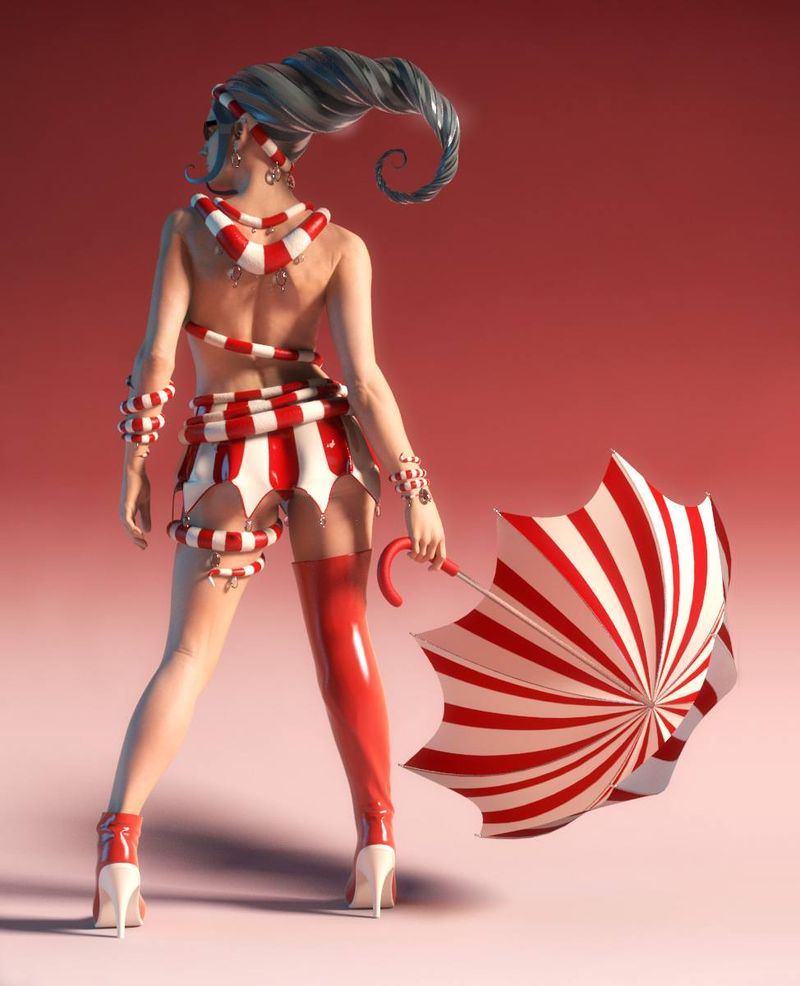
Here is the final render, after some color tweaking from Photoshop®: